Introduction: How to Remove Chair Railing
Chair railing is almost spotted in every home. But many individuals are looking for an easy guide on how to remove chair railing. You need a few tools to perform this removal task, so let us see the details without further ado!
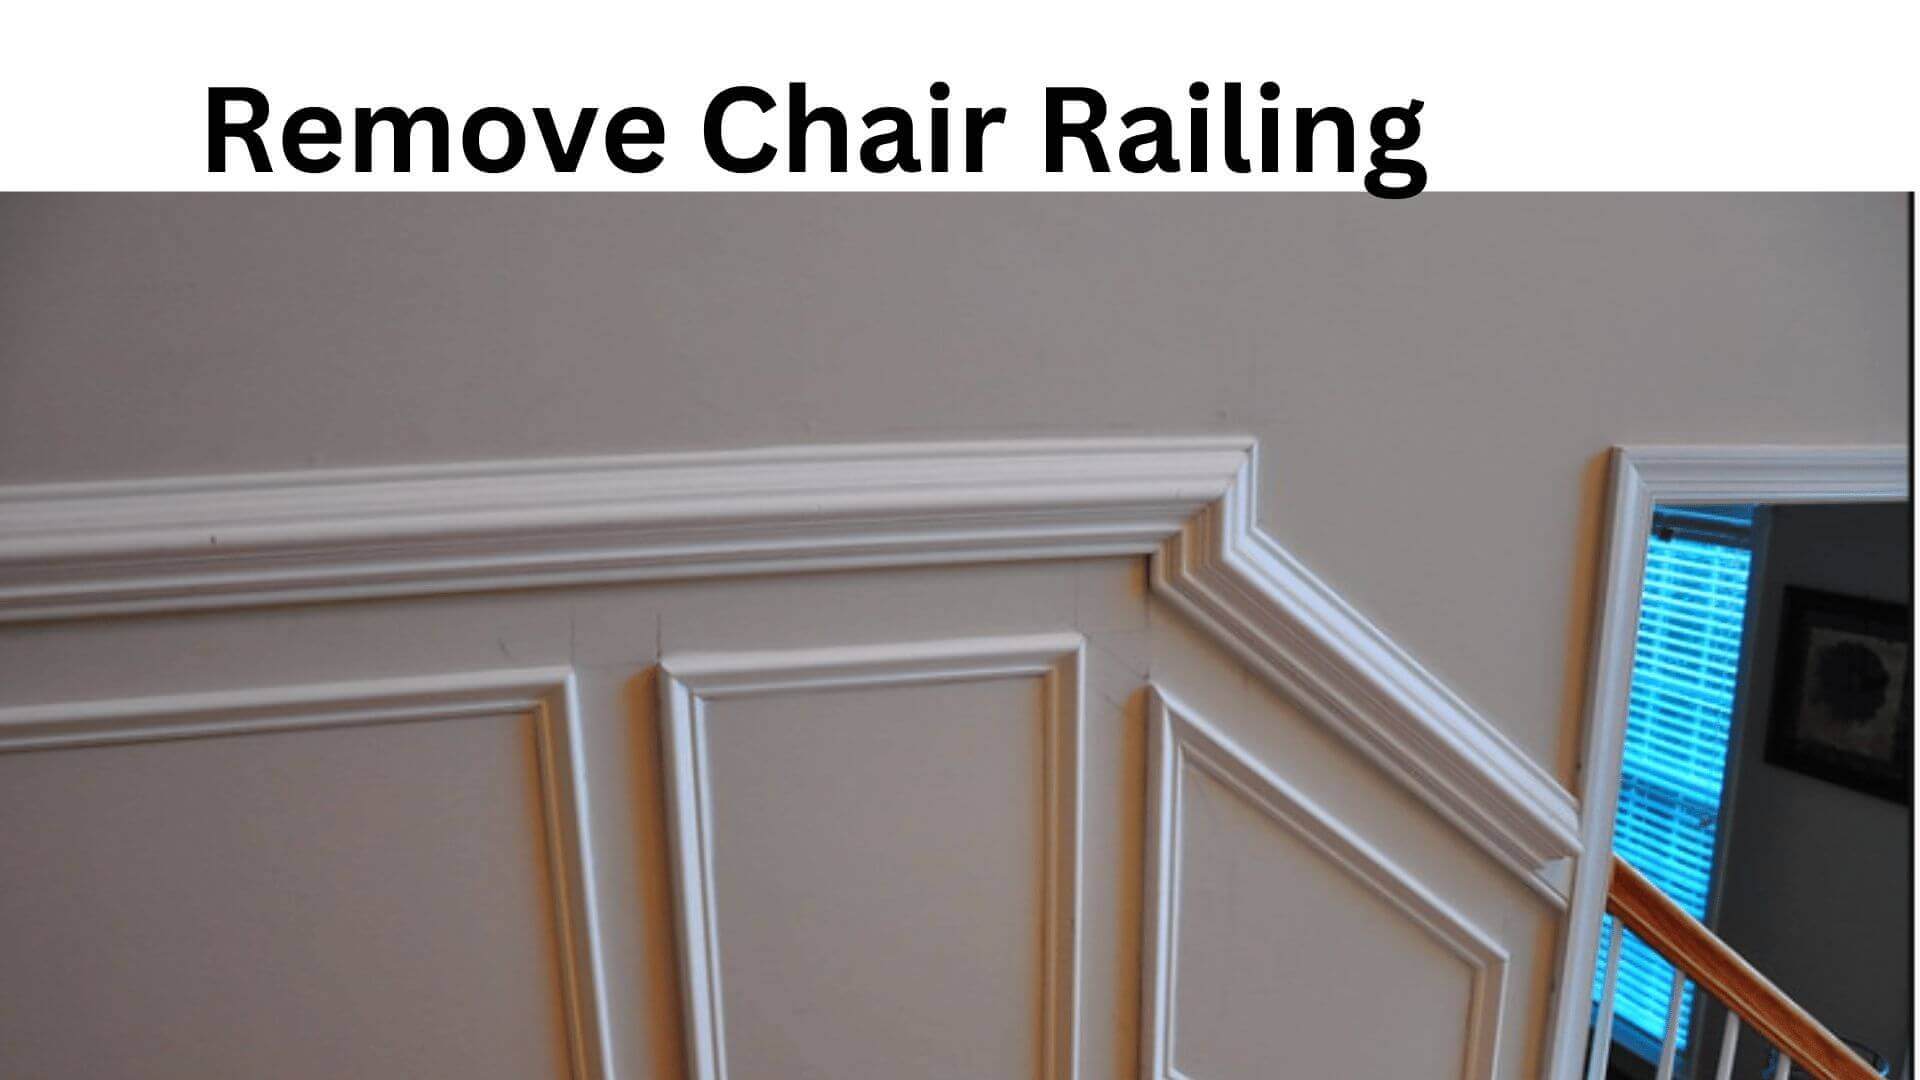
A chair rail is a kind of molding that is embossed on an interior wall and attached horizontally around the entire room perimeter. The primary purpose of installing it is to stop chairs from rubbing against the walls. Below you can check out the guide:
What is a chair railing?
Chair rail is assumed to be a decorative element you can keep in your room. Besides, it functions as a protective barrier and prevents the chairs from rubbing and smashing against the walls. Your walls remain protected, 100% safe, and sound from wear and tear in high-traffic zones of your home.
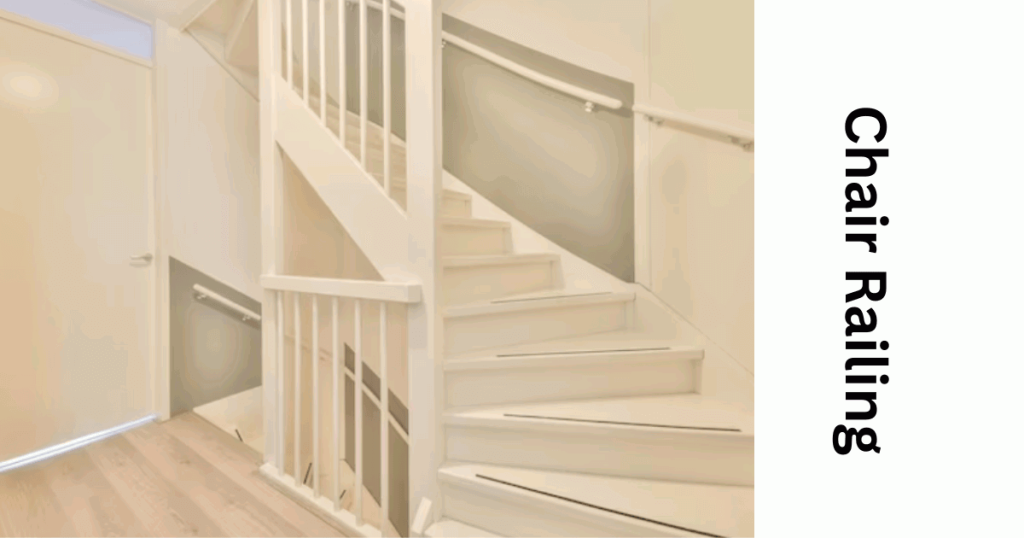
This trim is commonly spotted in breakfast, dining, and living rooms. If there is a space in your home where you often move furniture here and there, installing a chair railing is a must over there.
These rails do not make the room look smaller. In fact, it instantly catches the eye of a visitor. However, if the chair railing is installed too high, it will ultimately shrink the room. And installing it too short makes the walls appear excessively unbalanced.
Thus, you always need a chair rail to protect the walls from any slight damage the chairs give. They add 360-degree protection and safety element to vulnerable walls. Apart from considering them for decorative and aesthetic purposes, their use looks quite practical, and you must also go for it. These days, quite trendy and stylish chair rail designs are available in the market.
Guide to removing chair railing
The overall process goes in a series of steps that we have mentioned below regarding how to remove chair railing. You can go through it and if any question hits your mind, ask us anytime:
Tools you need to remove chair railing
You need a utility knife, pry bar, pliers, hammer, rubber mallet, sandpaper, joint compound, primer, putty knife, and chip brush. Remember that do not mix using a pry bar and crowbar. Both of them are different. Crowbars are generally much larger and thicker. They remain intended for large-scale chair railing tasks. Furthermore, use good-quality fine-grit sandpaper. It seems a suitable pick for sanding drywalls easily.
Step 1
Grab a utility knife and score it along the chair railing edges. In doing so, the wall will remain secure and damage-free until you get done with the removal process! Scoring all along the edges cuts the caulk, and it also prevents the wall from getting worn and torn up.
Step 2
Use a pry bar and insert its edge underneath the wood trim. This will separate the chair railing from the wall. Hit it with a rubber mallet until the pry bar goes under the wood. Make sure to go slowly. If you use hard force, the wood might break. Continue this motion unless the railing comes off the wall.
Step 3
There is a chance that nails are still stuck in the walls even if you have fully removed the railing. To remove the nails, use pliers, or you can even use a hammer. If they seem impossible to remove, hammering those unwanted nails firmly into the wall is recommended.
Some people have complained about removing chair railings from tight spots; baseboards and tight corners look next to impossible. But you can now remove them with ease by using an oscillating multi-tool. It will effortlessly cut through the wood.
Step 4
Once you have removed the chair railing, sand the old paint and smooth the texture. Most importantly, you must use a putty knife to take off the remaining caulk, dust, and bumps. Some walls are embossed with peeling drywall paper. Remove it as much as you can, and using a utility knife to take off the drywall paper without hassle is better.
Step 5
Sand the walls and make them 100% smooth so you can easily apply a fresh coat of paint on them. Before you apply new paint, clean them with a soft damp rag and let them fully dry. Get hold of a wide putty knife and properly apply a very thin coating of the joint compound with the help of it.
Remember to coat the nail holes as well as rips in the drywall paper. If you spot any other imperfection, coat it with the joint compound. You can apply the second coating if there is a need. Let it dry and sand again until the whole wall gets smooth.
Step 6
After completing the tasks of removing the chair railing and sanding the wall, you need to prime it now. This way, perfect paint coating will appear on the wall. Moreover, skipping priming pushes the joint compound to absorb more and more paint, and the final result ultimately looks blotchy and patchy.
Step 7
Voila, you are done! The only thing to remember is that you must repair the textured wall before painting it once you have removed the chair railing.
Why do people remove chair railings?
- People prefer removing chair railing because it gets damaged, old, and completely worn out.
- They look traditional, do not sync, and go well with the modern décor theme.
- The chair railings have become outdated. They lack modern elements in them.
- In terms of structure and strength, they are very weak.
- Installing a chair rail adds little value to the home.
- These rails do not add enough dimensional style to the room.
Conclusion
If your home has an old and worn-out chair railing in any room and you want to know how to remove chair railing, follow the above guide. To get more updates, keep tuned and in touch with us!