Introduction: How to Tie a Bow on a Chair
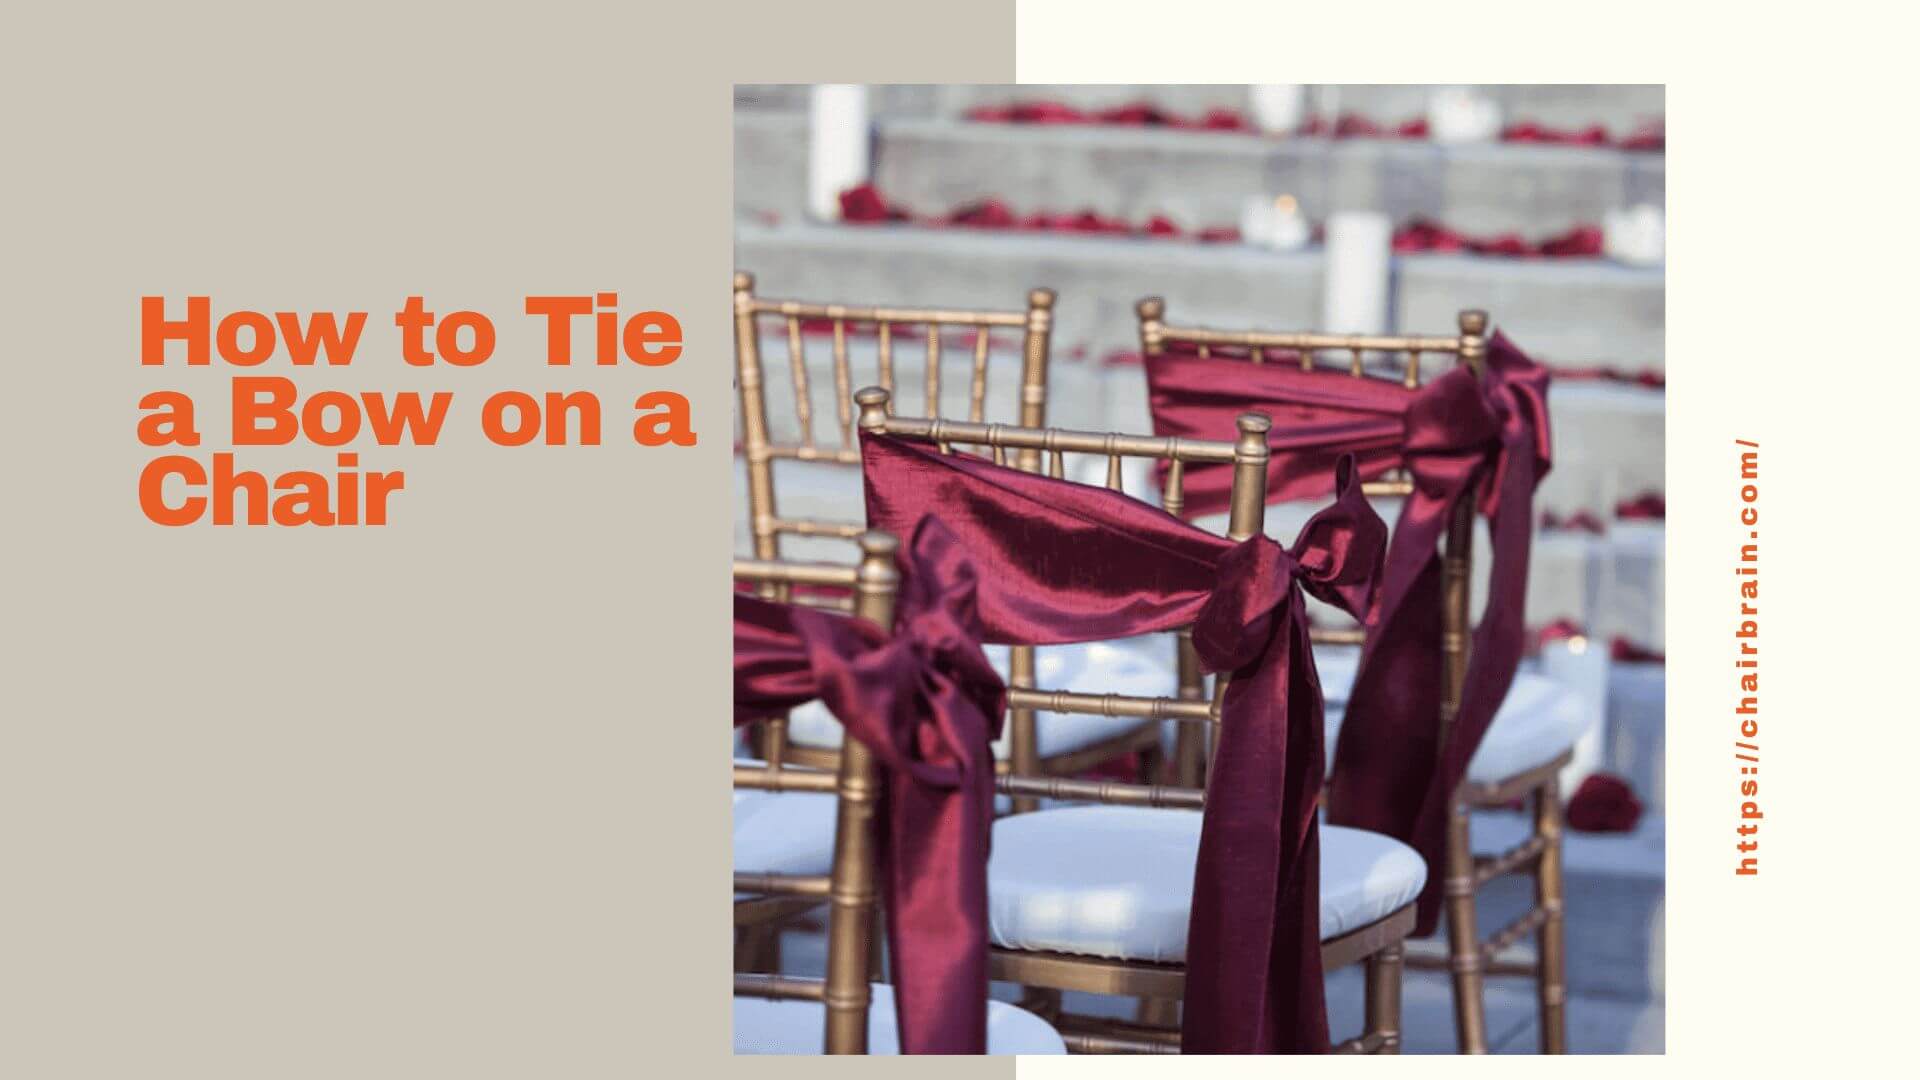
Tying bows on chairs is a fun process. If there is a birthday party at your home and you have been assigned the task of decorating chairs, the first thing to do is tie bows on them. On this web page, you can check out the guide on tying a bow on a chair.
You can make a single-loop or double-loop bow; the choice is yours. Tying sashes and making bows on chairs takes your décor all to another level. Just make a simple knot, and that is all! You can further dress it up by adding flowers and brooches. Make them as fancy as possible. The remaining details are written below regarding how to tie a bow on a chair
Guide to tying a bow on a chair
You can see the simple guide that tells the correct way of tying bows on chairs. It is a beginner-friendly guide and very easy and effortless to follow:
Below are few steps which can guide you how to tie a bow on a chair
Step 1
The first step is to make a standard bow. What you need to do is to get a sash and bring it in a standard bow form. Place the sash on the chair’s backrest. Make sure to wrap the ends of the sash entirely around the back side of the chair.
Furthermore, cross the left end properly over the right end. Fold both ends into big-size loops. You can adjust the loops by tugging them according to the desired size.
Step 2
Once you have made a standard bow, the next step is to give it a single-loop or double-loop bow look. In doing so, your chair will get a fancy vibe. Adjust the tails and loops, the tails should be long, and the loops must be small. Moreover, fold each tail right into a loop and tie them again to create a second bow.
Step 3
To come up with a single-loop bow, fold one tail only. Cross over the looped tail onto the straight tail and pull it in an upward direction. Rest, tighten the knot and adjust the loop size as well.
Step 4
Now comes the part of dressing up the bows. In this case, you can use brooches, flowers and other ornaments! Choose the brooch size which is of the exact knot size. Pin it up onto the knot. You can even make brooches on your own with silk flowers and fancy buttons.
Step 5
The last step is to add a sash slider buckle before you make a last knot. Weave one of the tails all through a fancy sash slider buckle and run it to the knot. You can have these buckles in round or square shapes, readily available in fabric and bridal-supply stores.
Creative bow knots, which you can try to decorate chairs
- You can make a flipped knot by wrapping the tail properly behind the knot. Start by creating a double knot or a single-looped bow and stack both tails simultaneously to make a single strand. Pull the tails behind the sash and finally drape them over the top part of the knot.
- Some like making a square knot! Here you give an upgraded look to the simple knot. Treat both tails as a single strand, pull them over the knot and run them down through the loop.
How to change the bow position?
It is in so many ways that you can change the bow position and below-mentioned guide will help you out:
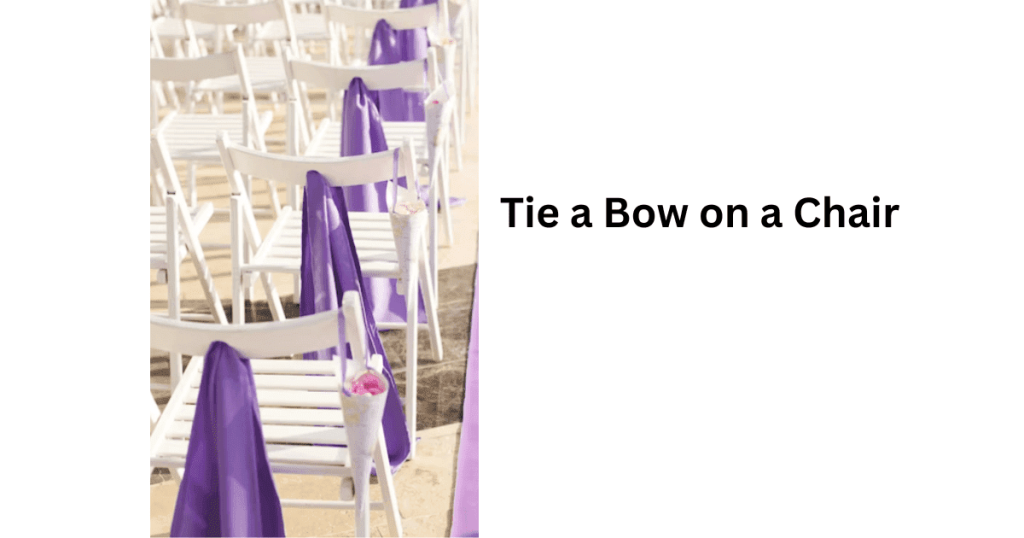
- You can move the bow off to the chair side edge. Once you have created and secured the desired knot, slide it around the chair’s backrest until it is positioned on the side edge. You choose whether you want to move the bow on the right or left edge side.
- Adjusting the sash height is not a problem. If you want to decorate chairs with high backrests, adjusting the sash height remains a must.
- Wrap the sash around the horizontal bars of the chair. These horizontal bars are located at the top and bottom of the backrest.
More tips to upgrade the bow look on chairs
- Choose the bow color that matches your décor theme.
- Play with different bow fabrics. We can give you a clear idea. It is assumed that you can make the best rosette knots on chairs if you specifically use a burlap or raw linen fabric. Besides, they give a barn-yard look and rustic vibe to your chairs.
- To give a boho look, it is recommended to make bows with patterned scarves.
- Some like making bows on chairs with lace, organza, or chiffon fabric. These are the fancier options that you can go for.
- Mixing and matching the textures while making bows on chairs is always suggested. For example, you can layer ivory lace over burlap; this will definitely bring a boho-chic touch.
- Decorating experts have preferred leaving the tails in a loose hanging form. This will inject a romantic vibe onto your chairs.
- If you have a wired sash, it is better to fold its tails into coils. In doing so, the bow will continuously make movements, ultimately looking epic and very interesting.
- If you think that tails are too long, trim off their ends. Avoid cutting them straight and trim them instead. The recommended way is to cut them at an angle or trim them into a dovetail.
- Use fray glue if the bow fabric keeps fraying and looks messy.
- Tuck the tails behind the sashes to give bows a more streamlined loom.
Conclusion
So, what’s the bottom line? We hope you will find this activity of how to tie a bow on a Chair interesting. It is time to try making every kind of bow, be it a standard, single loop, double loop or square bow. You can share with us if you have tried out other bow-making techniques. Stay tuned and connected with us.